In today’s tech-savvy world, the need to protect your electronic gadgets, particularly smartphones, has become a priority. One such safeguard is a liquid screen protector, a popular choice owing to its user-friendly application process, invisibility, and durability. But what happens when you want to remove it?
This article aims to guide you through potential methods to safely remove a liquid screen protector. But before diving in, let’s understand what a liquid screen protector is and why you might want to remove it.
How Do These Protectors Function?
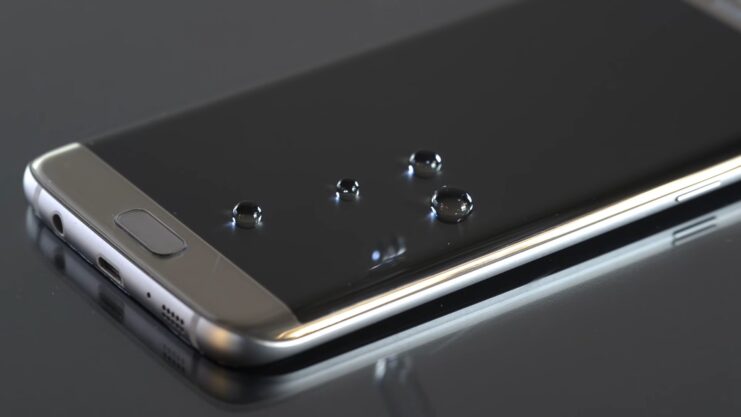
A liquid screen protector is a silicon dioxide (SiO2) solution that creates an invisible, nano-scale coating over your device’s screen. Once applied, it hardens, providing a layer of protection against scratches and shattering. Compared to traditional tempered glass or plastic protectors, liquid screen protectors offer a slim, invisible, and smooth alternative that doesn’t compromise screen clarity.
Why Would You Need to Remove a Liquid Screen Protector?
There might be several reasons why you’d want to remove your liquid screen protector:
- Aging: Over time, the protective layer may degrade, losing its efficacy.
- Poor Initial Application: Mistakes in the application can result in uneven coverage, affecting visual quality or touch sensitivity.
- Switching Protectors: If you plan to switch to a tempered glass or plastic protector, the liquid protector needs to be completely removed.
- Device Repair: Some repairs may require the removal of all screen coverings.
Regardless of the reason, it’s crucial to approach the removal process correctly to avoid potential damage to your device.
Safety Measures Before You Begin
Before we delve into the removal methods, here are some safety tips:
- Turn off the device: Before you begin, ensure your device is switched off and disconnected from any power sources.
- Prepare a Clean Workspace: Make sure you have a clean, well-lit area to work in. This minimizes the risk of introducing new debris or contaminants onto your device’s screen.
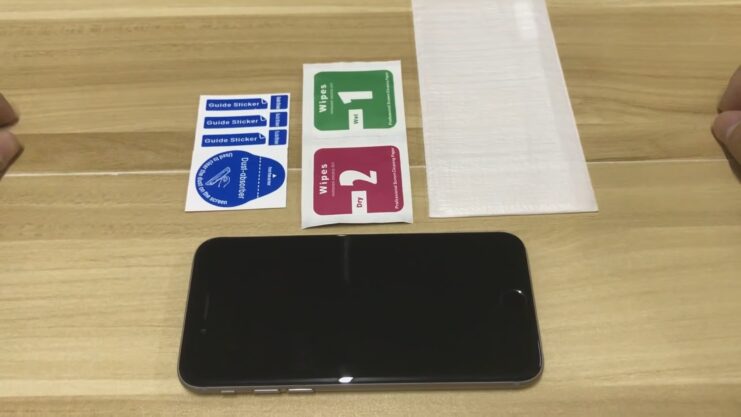
Methods to Remove Liquid Screen Protectors
Method 1: Using a Plastic Card
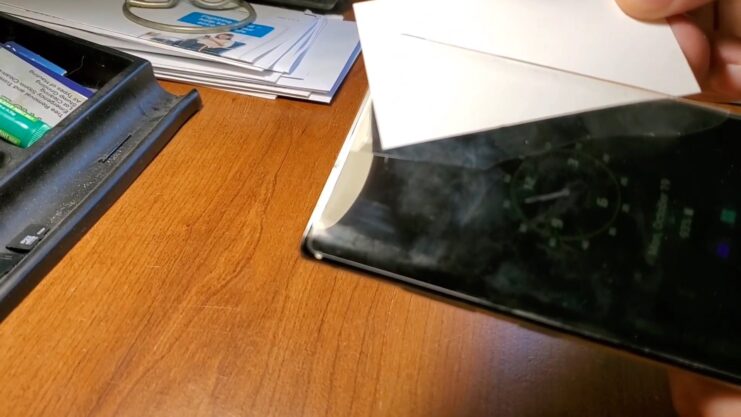
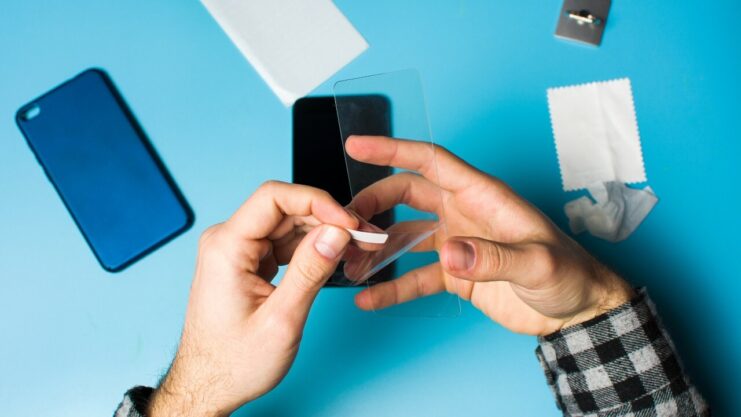
This method employs a thin, flexible plastic card (like a credit card) to gently scrape off the liquid screen protector.
- Step 1: Start at one corner of the screen, placing the edge of the card at a 45-degree angle to the screen.
- Step 2: Apply gentle pressure and slowly slide the card across the screen. The protective layer should start to peel off.
- Step 3: Continue this process until you’ve scraped off the entire layer. Remember to be patient and gentle to avoid scratching the screen.
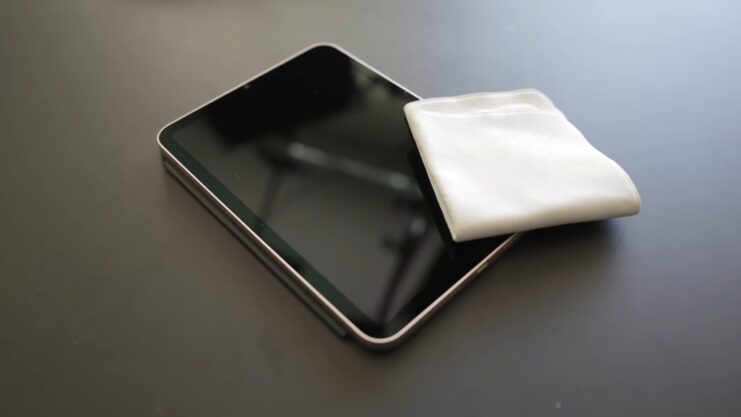
Method 2: Using Screen Cleaner Solution
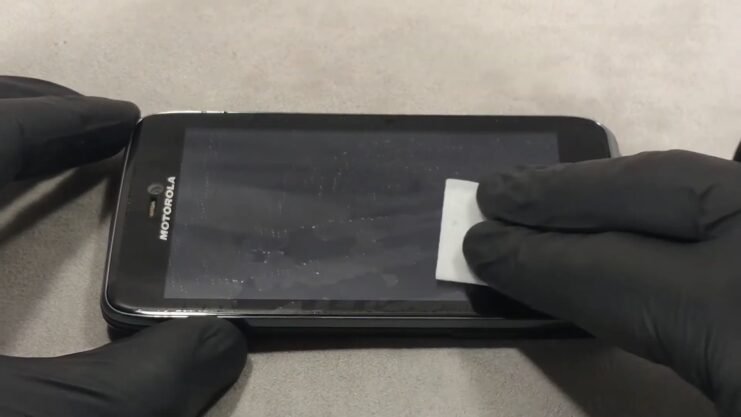
A good-quality screen cleaner solution can help to dissolve the liquid screen protector, making it easier to remove.
- Step 1: Spray the cleaner onto a soft, lint-free cloth. Never spray directly onto your device.
- Step 2: Gently rub the dampened cloth in circular motions over the screen. The screen protector should begin to break down.
- Step 3: Repeat these steps until the protector is entirely removed. Once done, wipe the screen dry using a fresh cloth.
Method 3: Using Rubbing Alcohol

Rubbing alcohol can also dissolve the liquid screen protector. However, this should be your last resort as it could potentially damage the oleophobic coating on your device’s screen.
- Step 1: Dampen a soft cloth with a small amount of rubbing alcohol.
- Step 2: Gently rub the screen in a circular motion, ensuring the alcohol doesn’t seep into any openings on the device.
- Step 3: Once the protector is removed, wipe down the screen with a dry, clean cloth.
Remember, patience is key! These methods require a gentle touch and a bit of time to be effective.
Precautions to Take After Removal
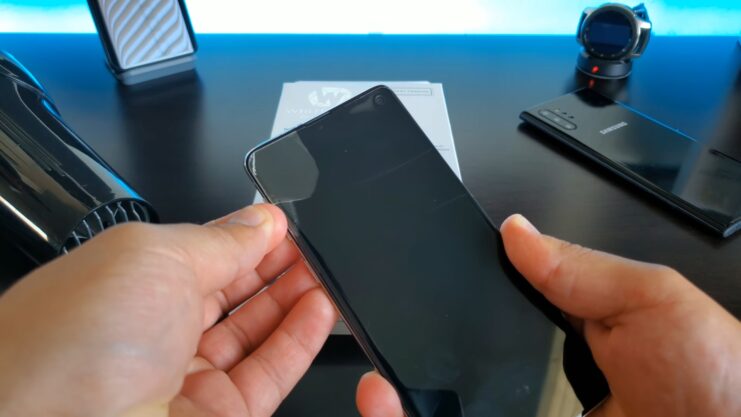
After removing the liquid screen protector, it’s important to assess the state of your device’s screen.
- Check for scratches or damage: If you notice any, you may need professional help to rectify these issues before applying a new protector.
- Clean the screen thoroughly: Use a microfiber cloth and a suitable screen cleaner to ensure that the screen is entirely clean and dry.
- Reapply protection: After the screen is clean, apply your new screen protector – be it another liquid one or a tempered glass or plastic variant.
Advanced Techniques You Can Try
Now, we’re going to dig deeper, exploring the science behind these protectors and learning about more advanced techniques of removal.
The Science Behind Liquid Screen Protectors
Liquid screen protectors are more than just liquid glass—they’re nanotechnology at work. Silicon dioxide, extracted from quartz, is broken down into nanoparticle size to create a colloid. When applied to a device’s screen, the solution fills microscopic imperfections and bonds with the glass, resulting in a harder, smoother surface.
Advanced Methods of Removal
For stubborn liquid screen protectors, or when other methods prove ineffective, consider these advanced techniques.
Method 4: Fine Grit Sandpaper
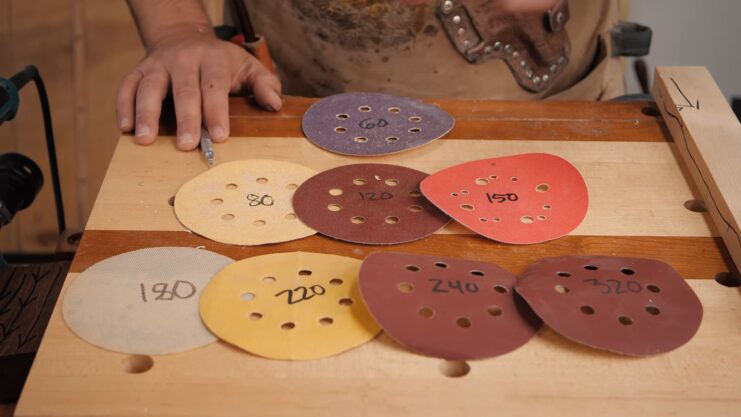
This method should be used as a last resort and requires extreme caution. The aim is to lightly sand away the layer of the liquid screen protector.
- Step 1: Choose a very fine grit sandpaper (1500 to 2000 grit is ideal). Coarser sandpaper can scratch the screen.
- Step 2: Gently rub the sandpaper over the surface of the screen in a circular motion. The sandpaper should just graze the protector without touching the screen itself.
- Step 3: Clean the screen with a microfiber cloth after every pass to remove any dust or debris.
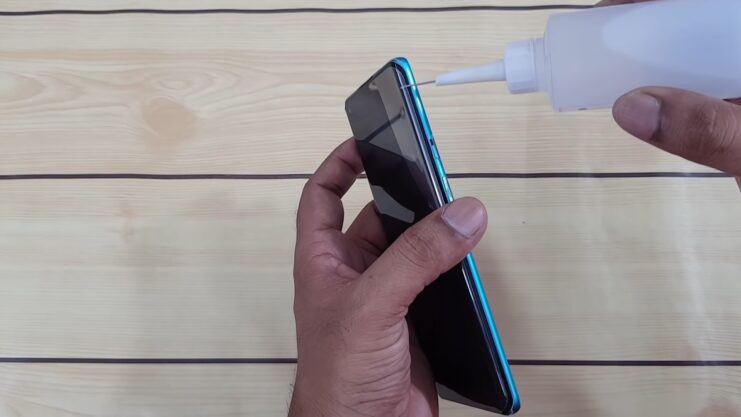
Method 5: Commercial Screen Protector Remover
Some companies produce specific solutions designed to remove screen protectors. These products can be applied similarly to the screen cleaner solution mentioned previously. Always follow the manufacturer’s instructions when using these products.
Additional Safety Tips
When using advanced methods, here are some extra safety tips to consider:
- Wear safety goggles: Fine particles from sanding could potentially cause eye irritation.
- Use gloves: To prevent fingerprints and oil from your hands from contaminating the screen.
Problems that May Arise
Despite your best efforts, problems may still arise during the removal process:
- Visible Scratches: These can be a result of applying too much pressure or using a tool with a rough edge. If minor, these scratches can often be polished out. If severe, professional assistance may be needed.
- Damage to Oleophobic Coating: Most modern screens have a thin oleophobic (oil-resistant) coating to reduce fingerprints. It can be damaged by abrasive materials or harsh chemicals, impacting screen clarity.
What to Do Next
Once you’ve successfully removed the liquid screen protector, assess your device:
- Damage Evaluation: Check for any residual damage. If you find issues, consult with a professional for potential solutions.
- Reapplication: If you’re reapplying a liquid screen protector, ensure your screen is completely clean and dry. For other protectors, follow the manufacturer’s instructions.
Final Thoughts
Removing a liquid screen protector is a delicate process that requires patience and precision. Following the outlined steps will help ensure your device remains safe during the procedure.
Do remember, though, if you’re uncomfortable with the process, it’s always best to seek professional assistance. They can safely remove and replace the protector without risking any damage to your device.
Understanding the removal methods and taking necessary precautions will equip you to handle your liquid screen protector with confidence.